Provision Ubuntu Hosts
Overview
Colony can provision Ubuntu 22.04 Jammy on bare metal assets using PXE boot and cloud-init. This is used for standalone servers.
Prerequisites
Before provisioning Ubuntu:
- Management cluster initialized
- Assets discovered and in "available" status
- Network connectivity from management cluster to assets
- DHCP server configured for PXE boot
See Discover Assets if you haven't registered your hardware yet.
Use Cases
Standalone Servers
Use provisioned Ubuntu hosts for:
- Application Servers: Deploy apps directly on bare metal
- Database Servers: Run PostgreSQL, MySQL, MongoDB
- Development Machines: Remote development environments
- Jump Boxes: SSH bastions for infrastructure access
- CI/CD Runners: GitLab Runner, Jenkins agents
Provision via UI
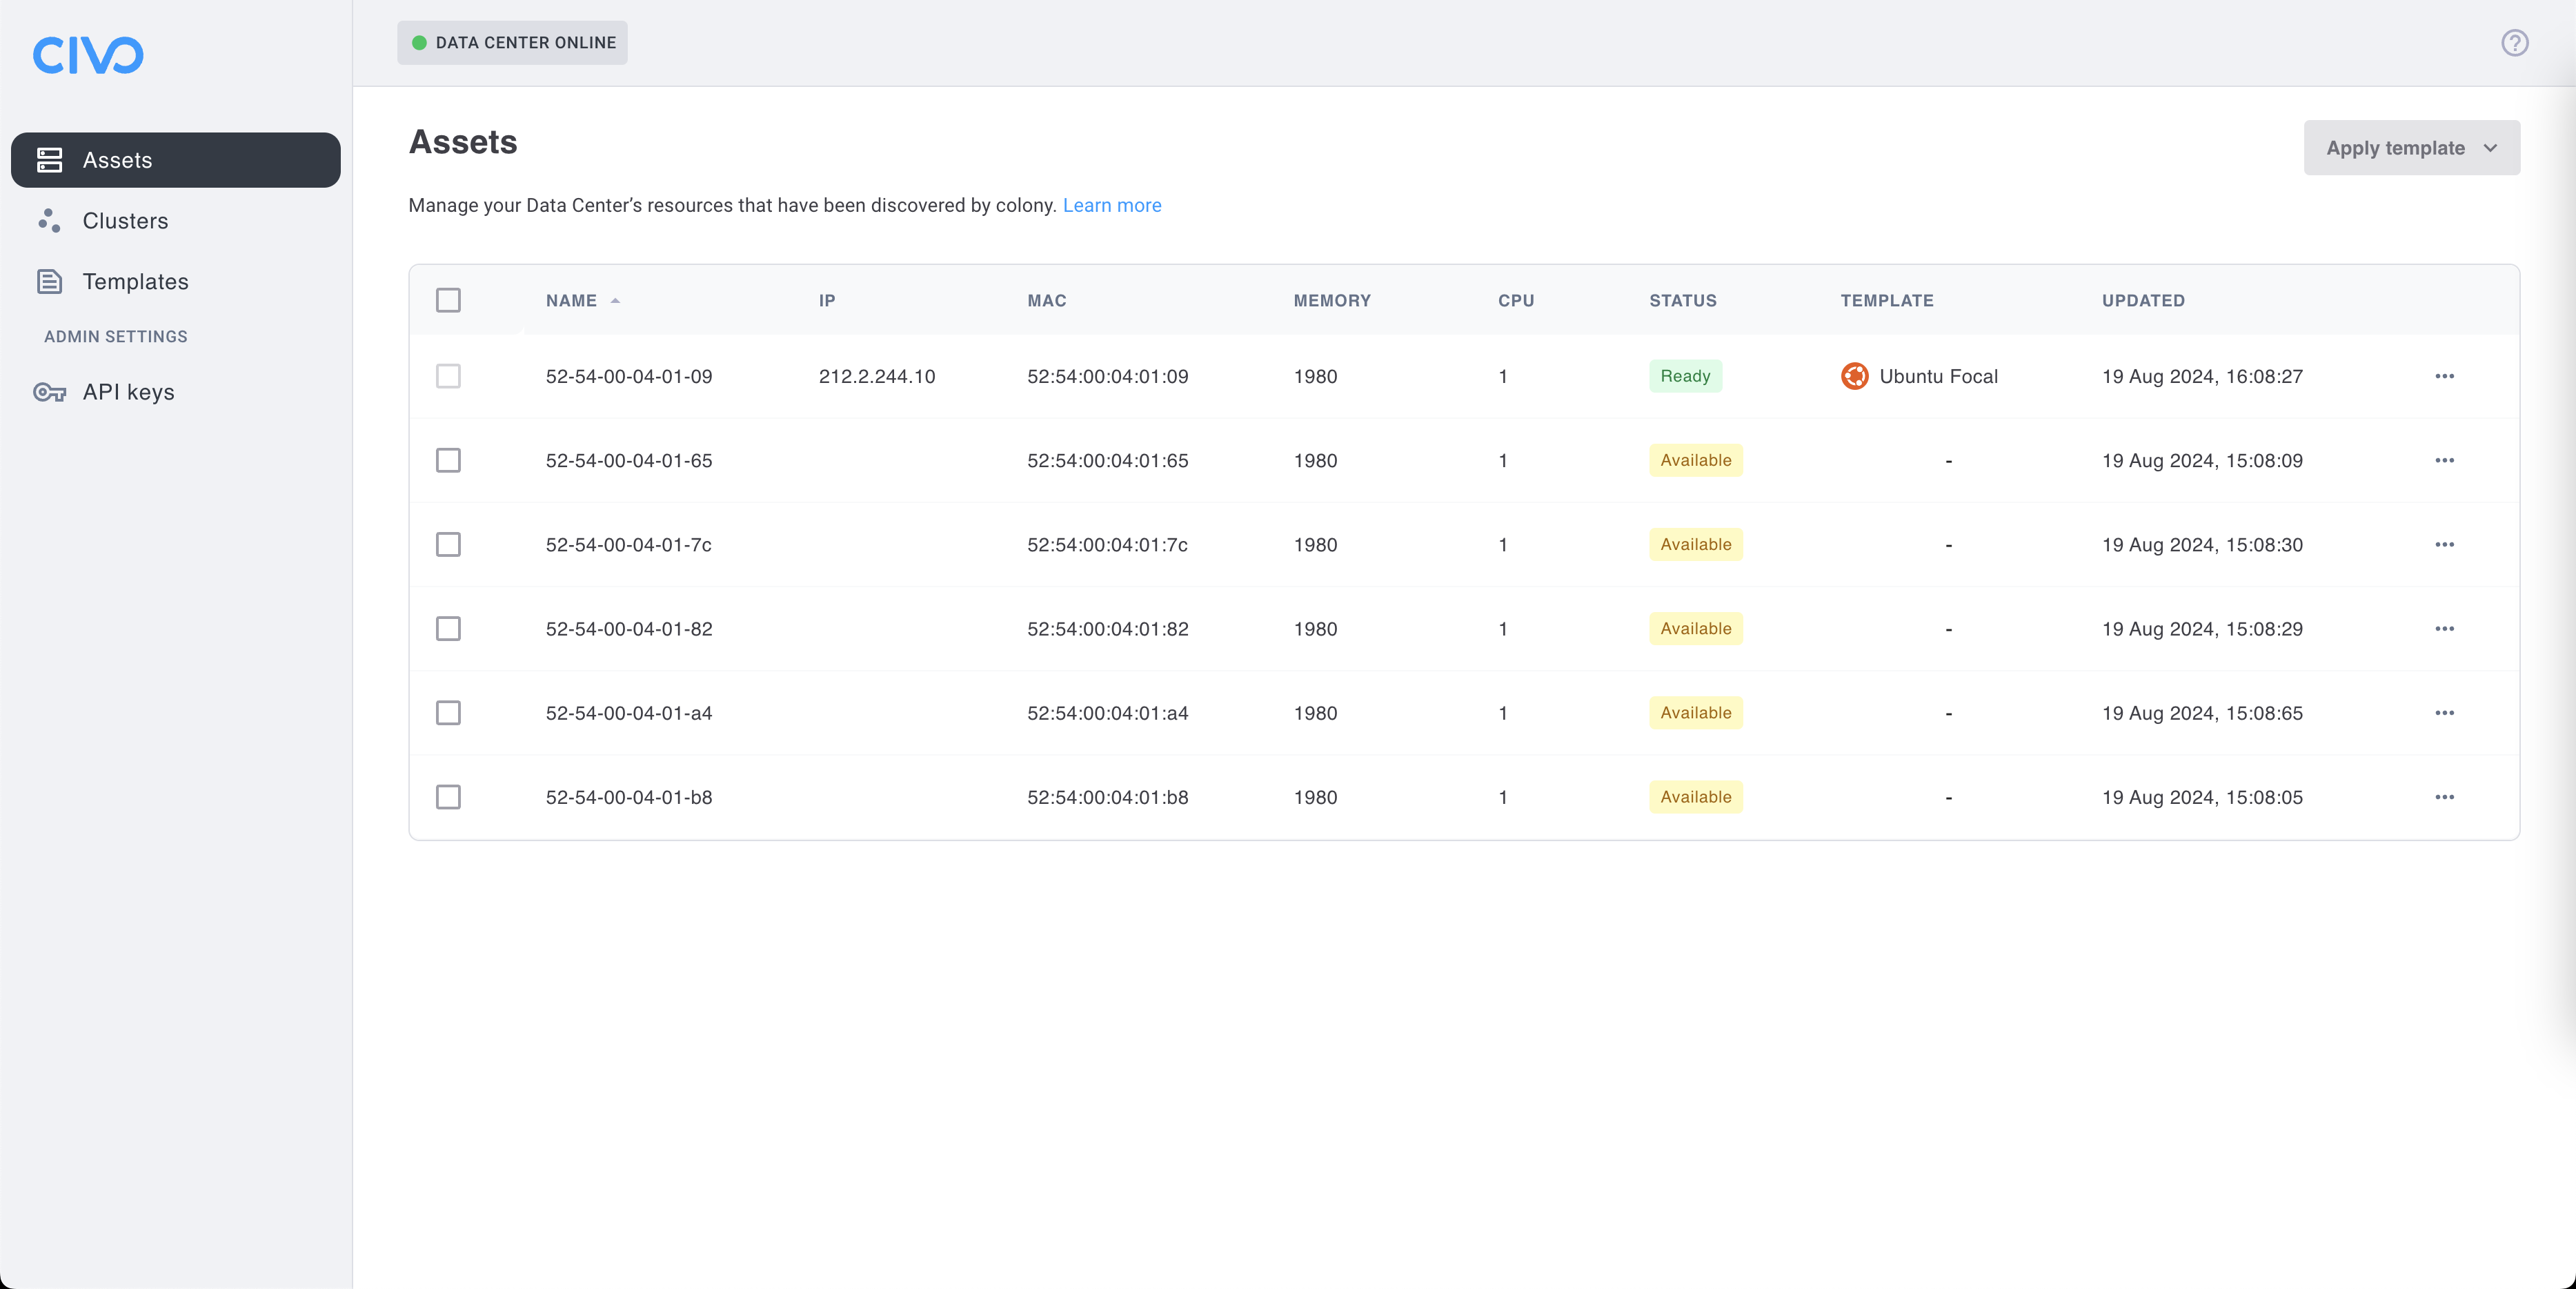
Step 1: Navigate to Assets
- Log in to colony.konstruct.io
- Select your datacenter
- Click Assets in the sidebar
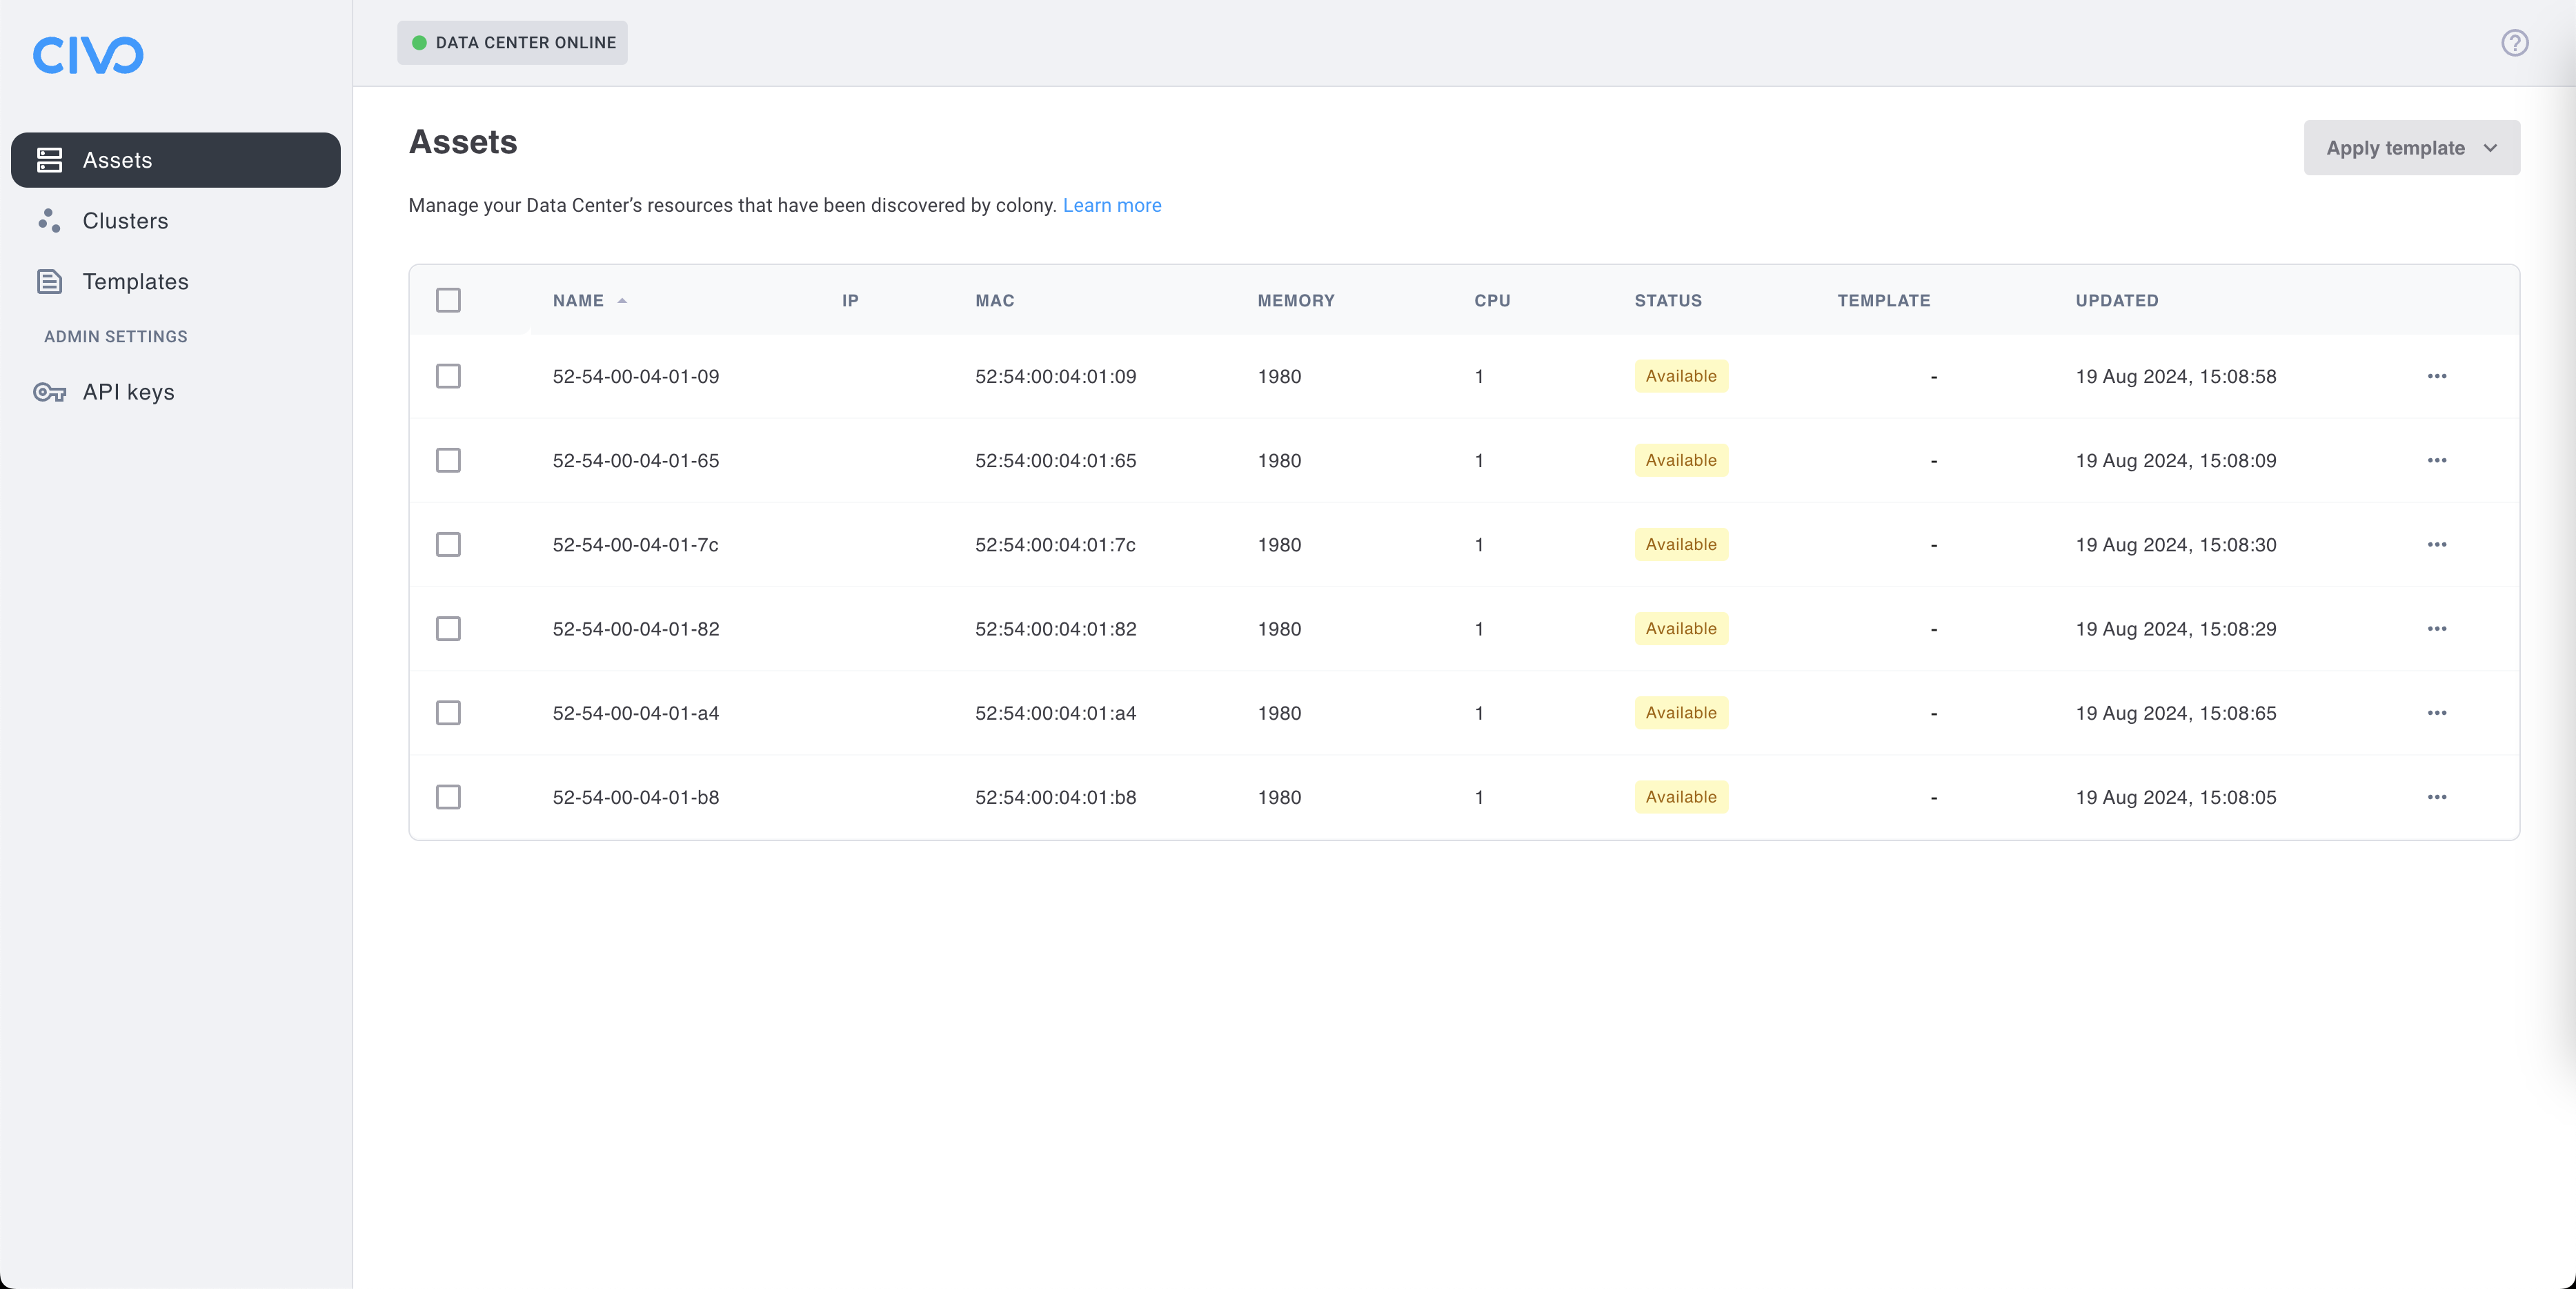
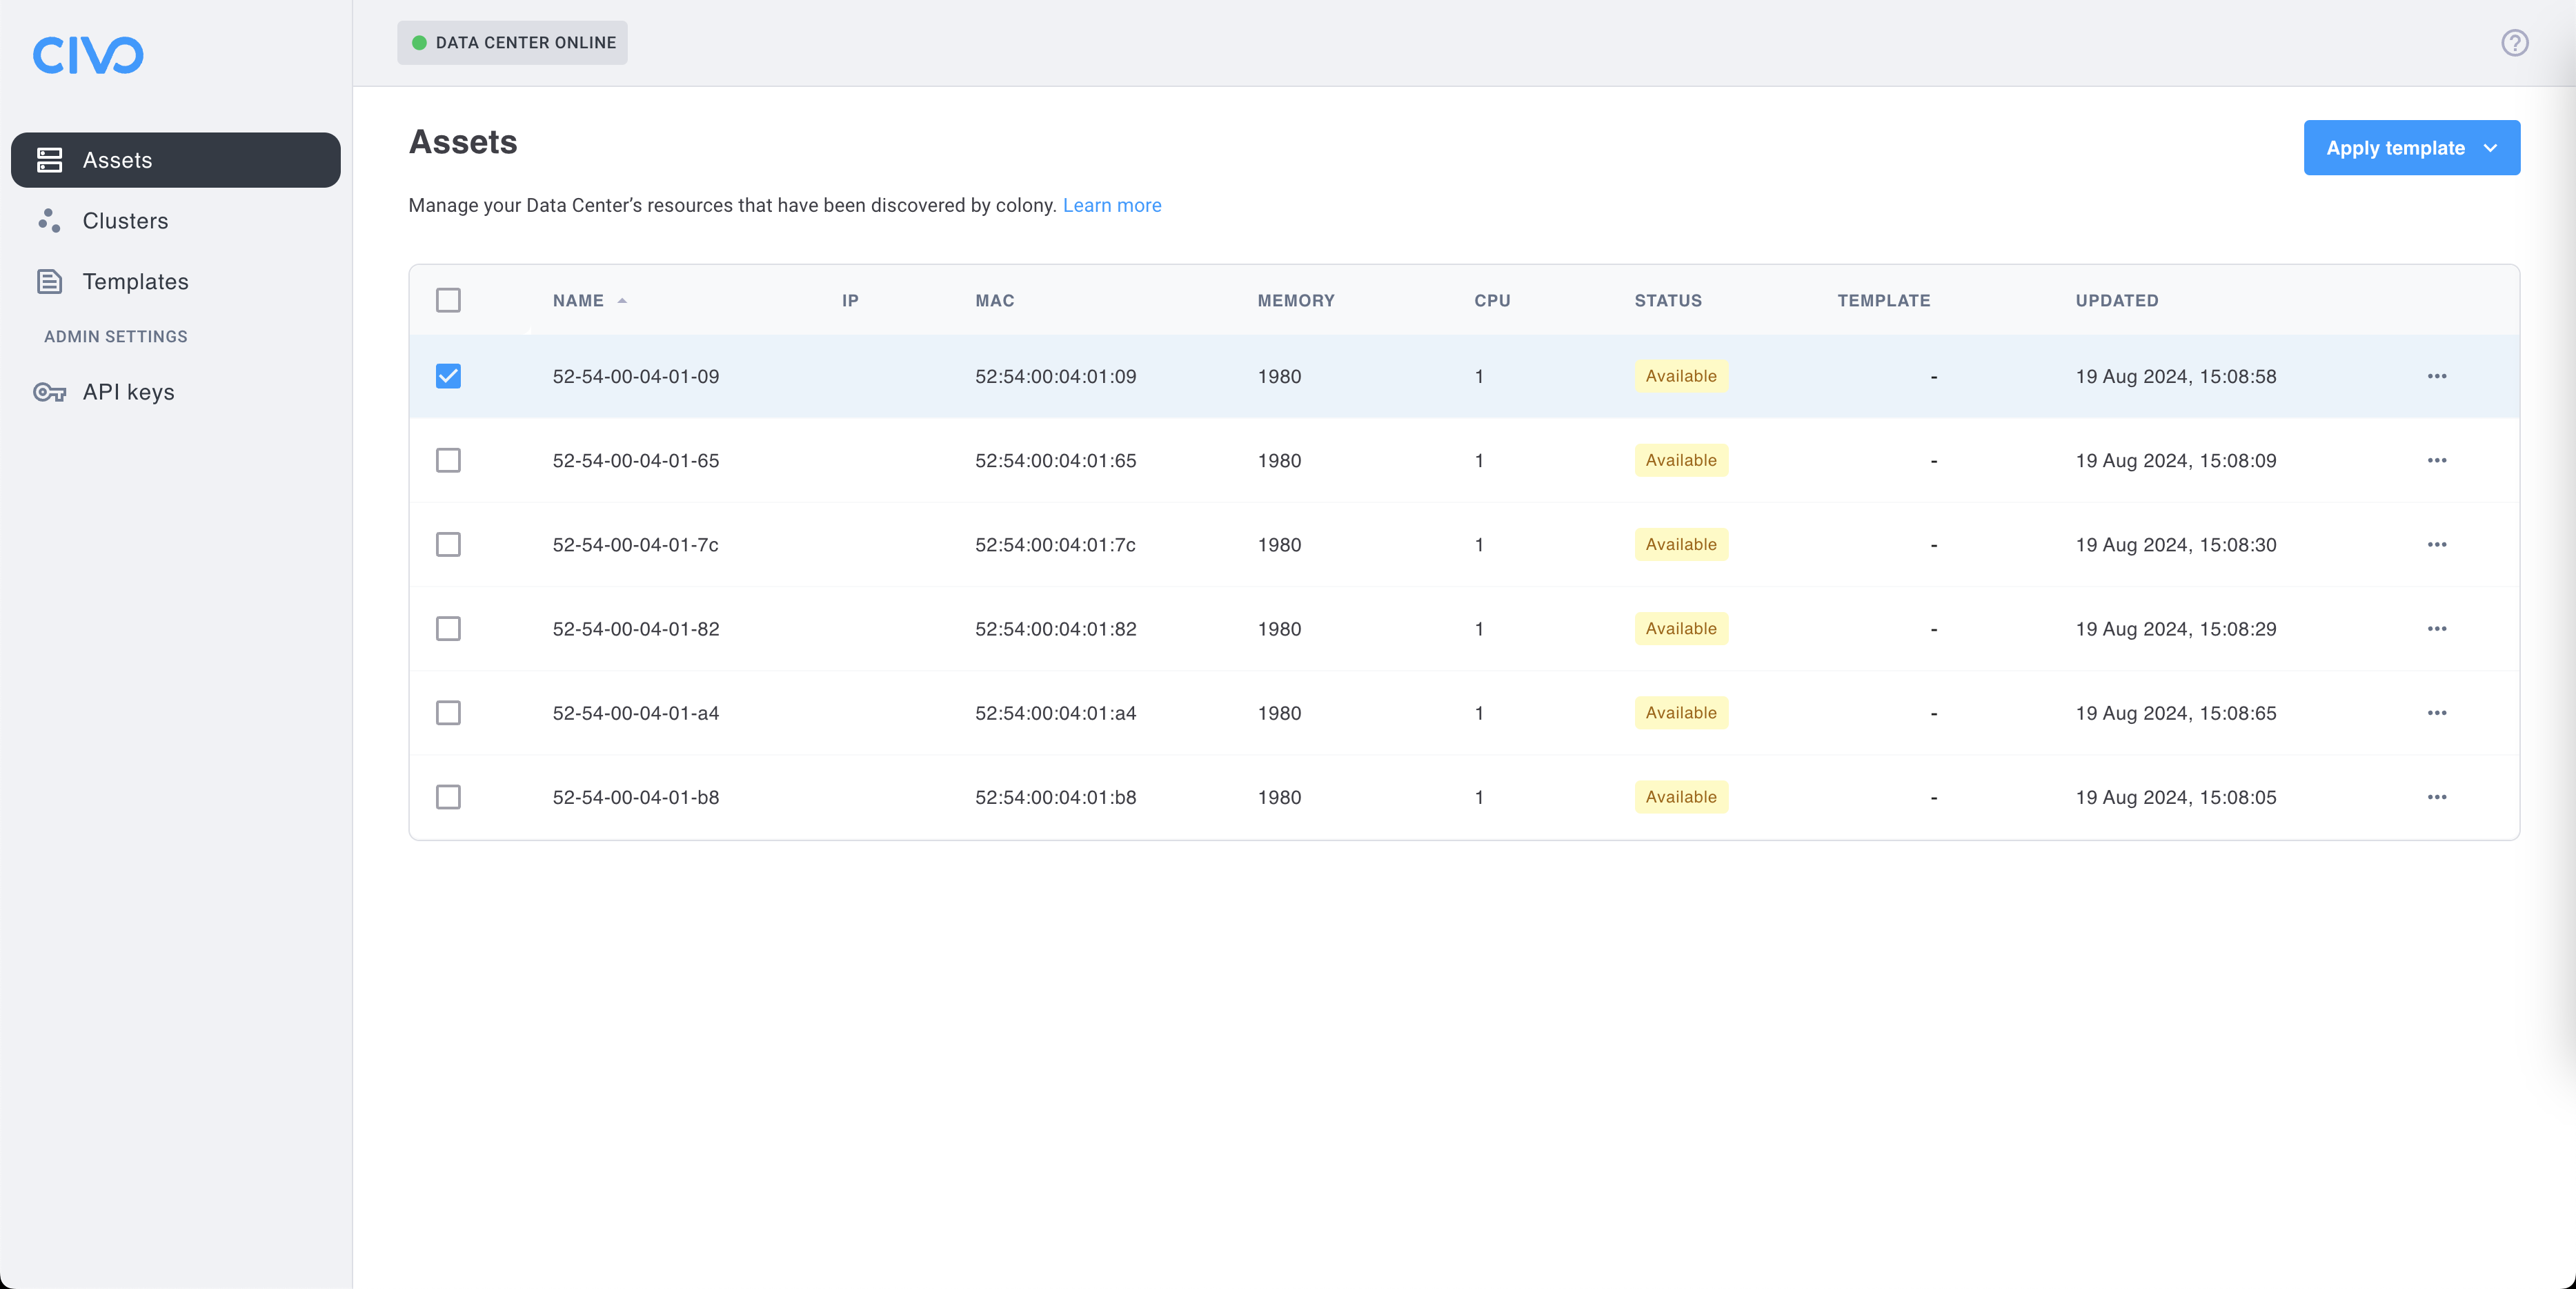
Step 2: Select Asset
- Find an asset with "available" status (green)
- Click the asset to open details
- Click Apply Template
Only assets in "available" status can be provisioned. Assets that are "provisioned", "provisioning", or "discovering" cannot have templates applied.
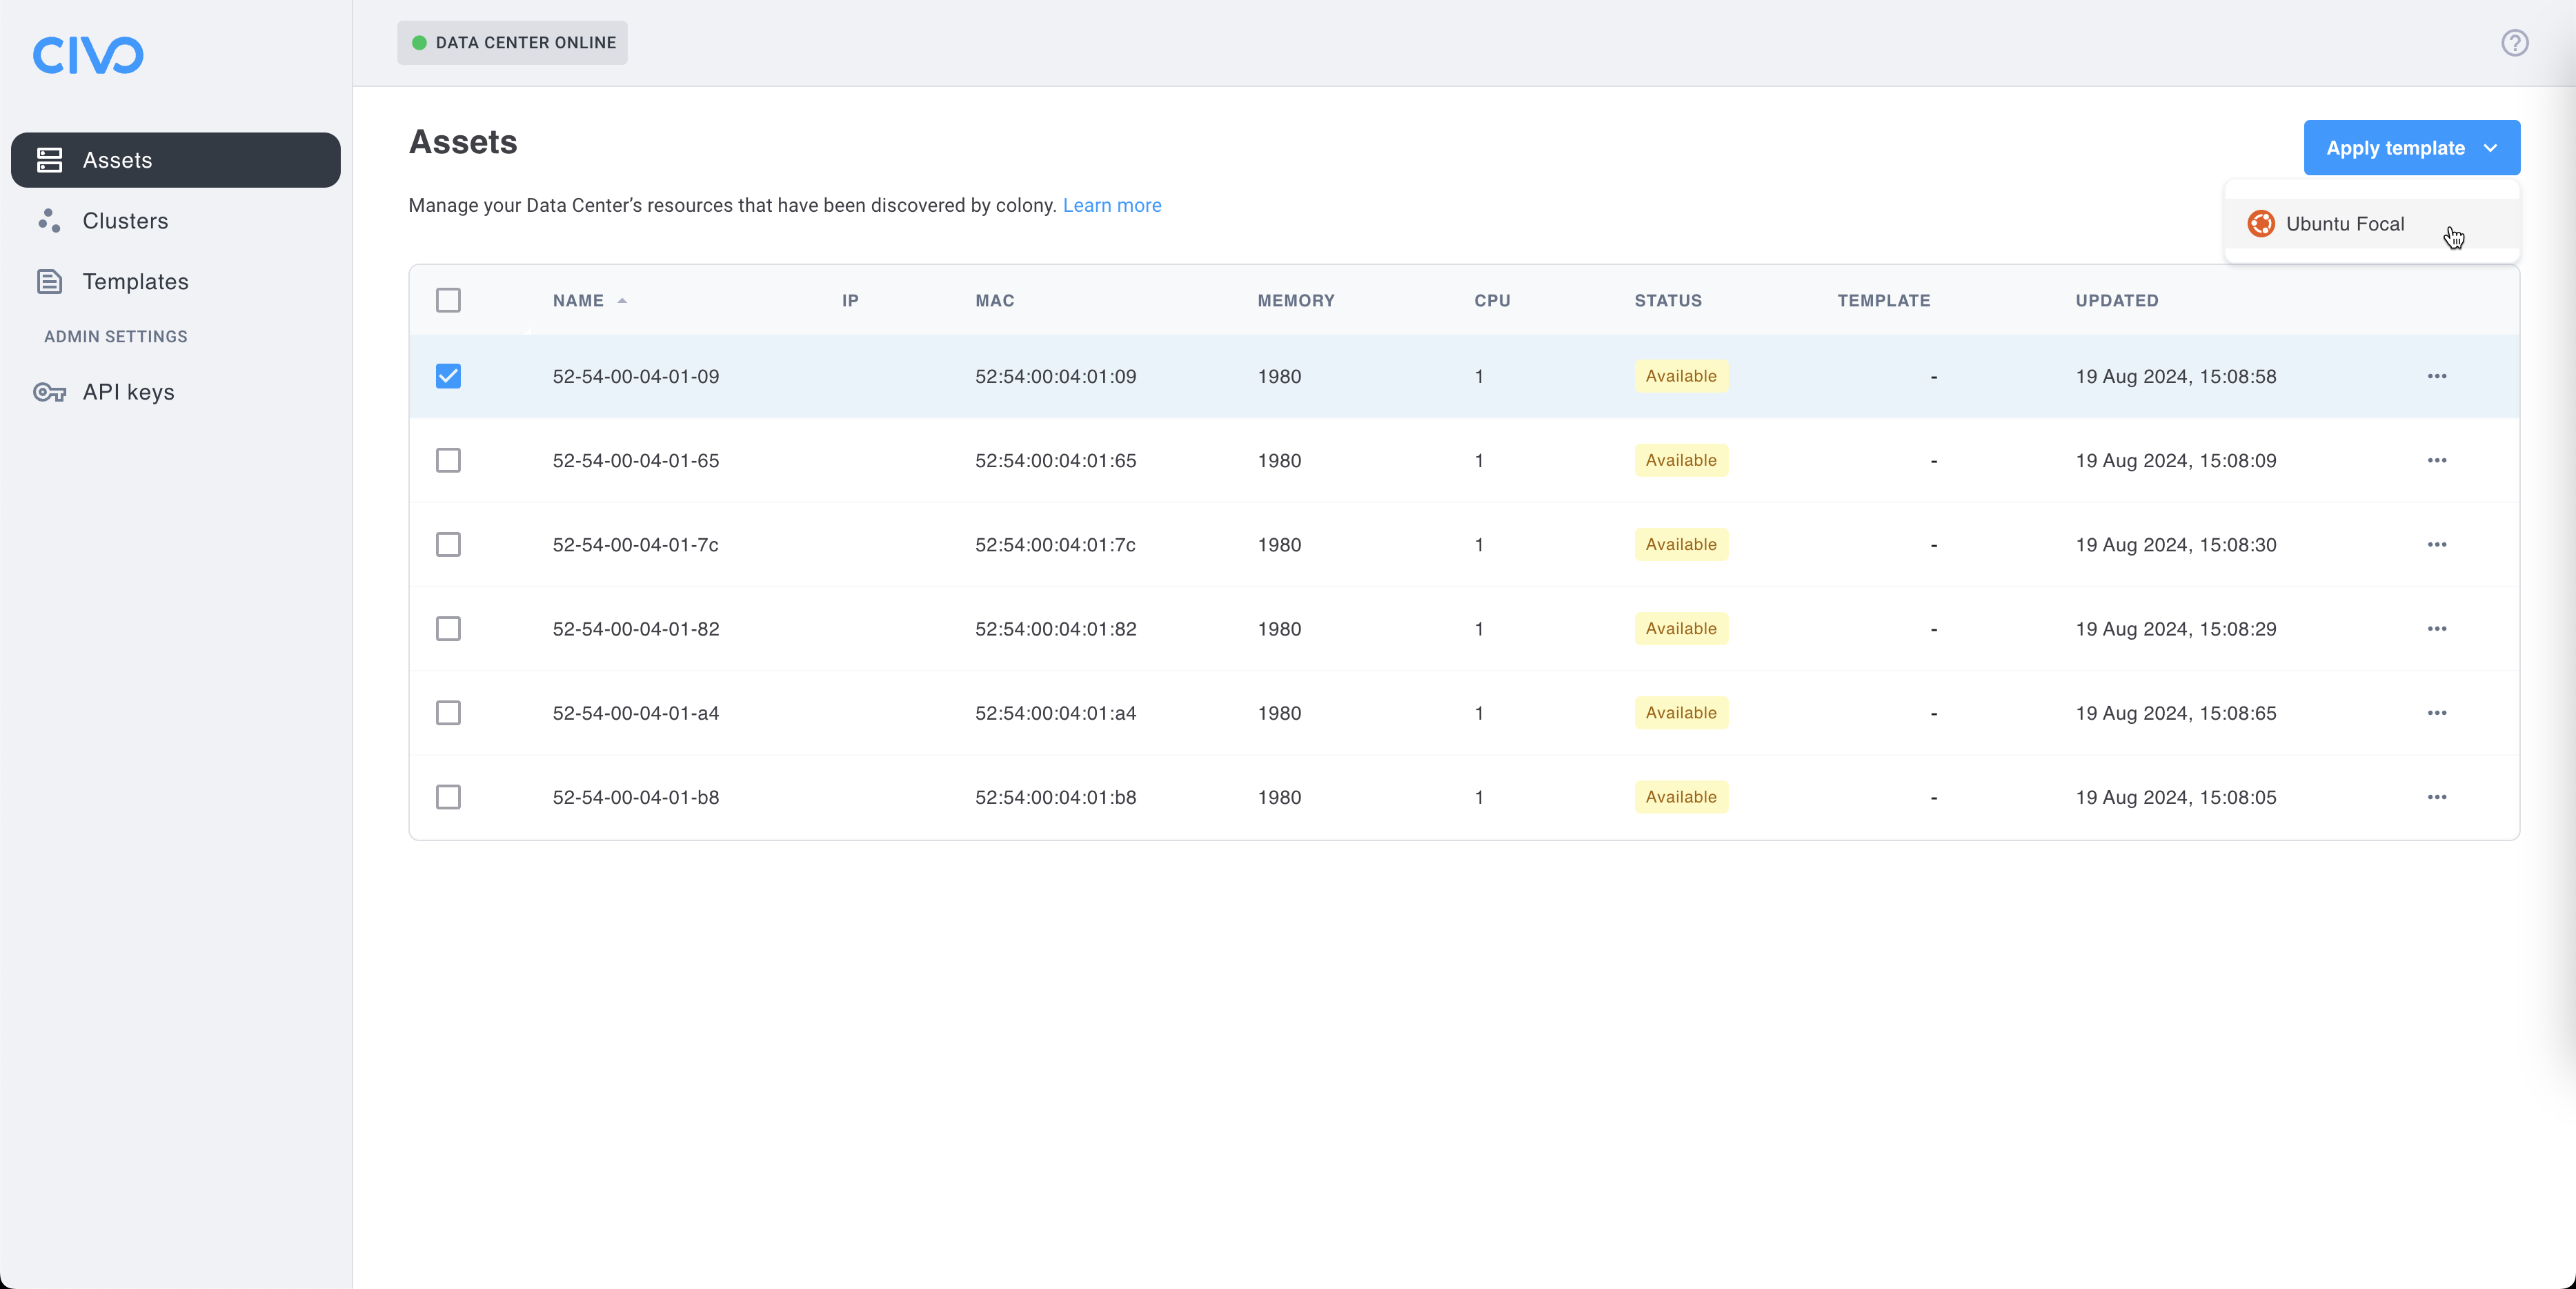
Step 3: Choose Ubuntu Template
- From the template dropdown, select Ubuntu Jammy (or similar Ubuntu 22.04 template)
- Review the configuration (defaults are usually fine)
- Click Provision
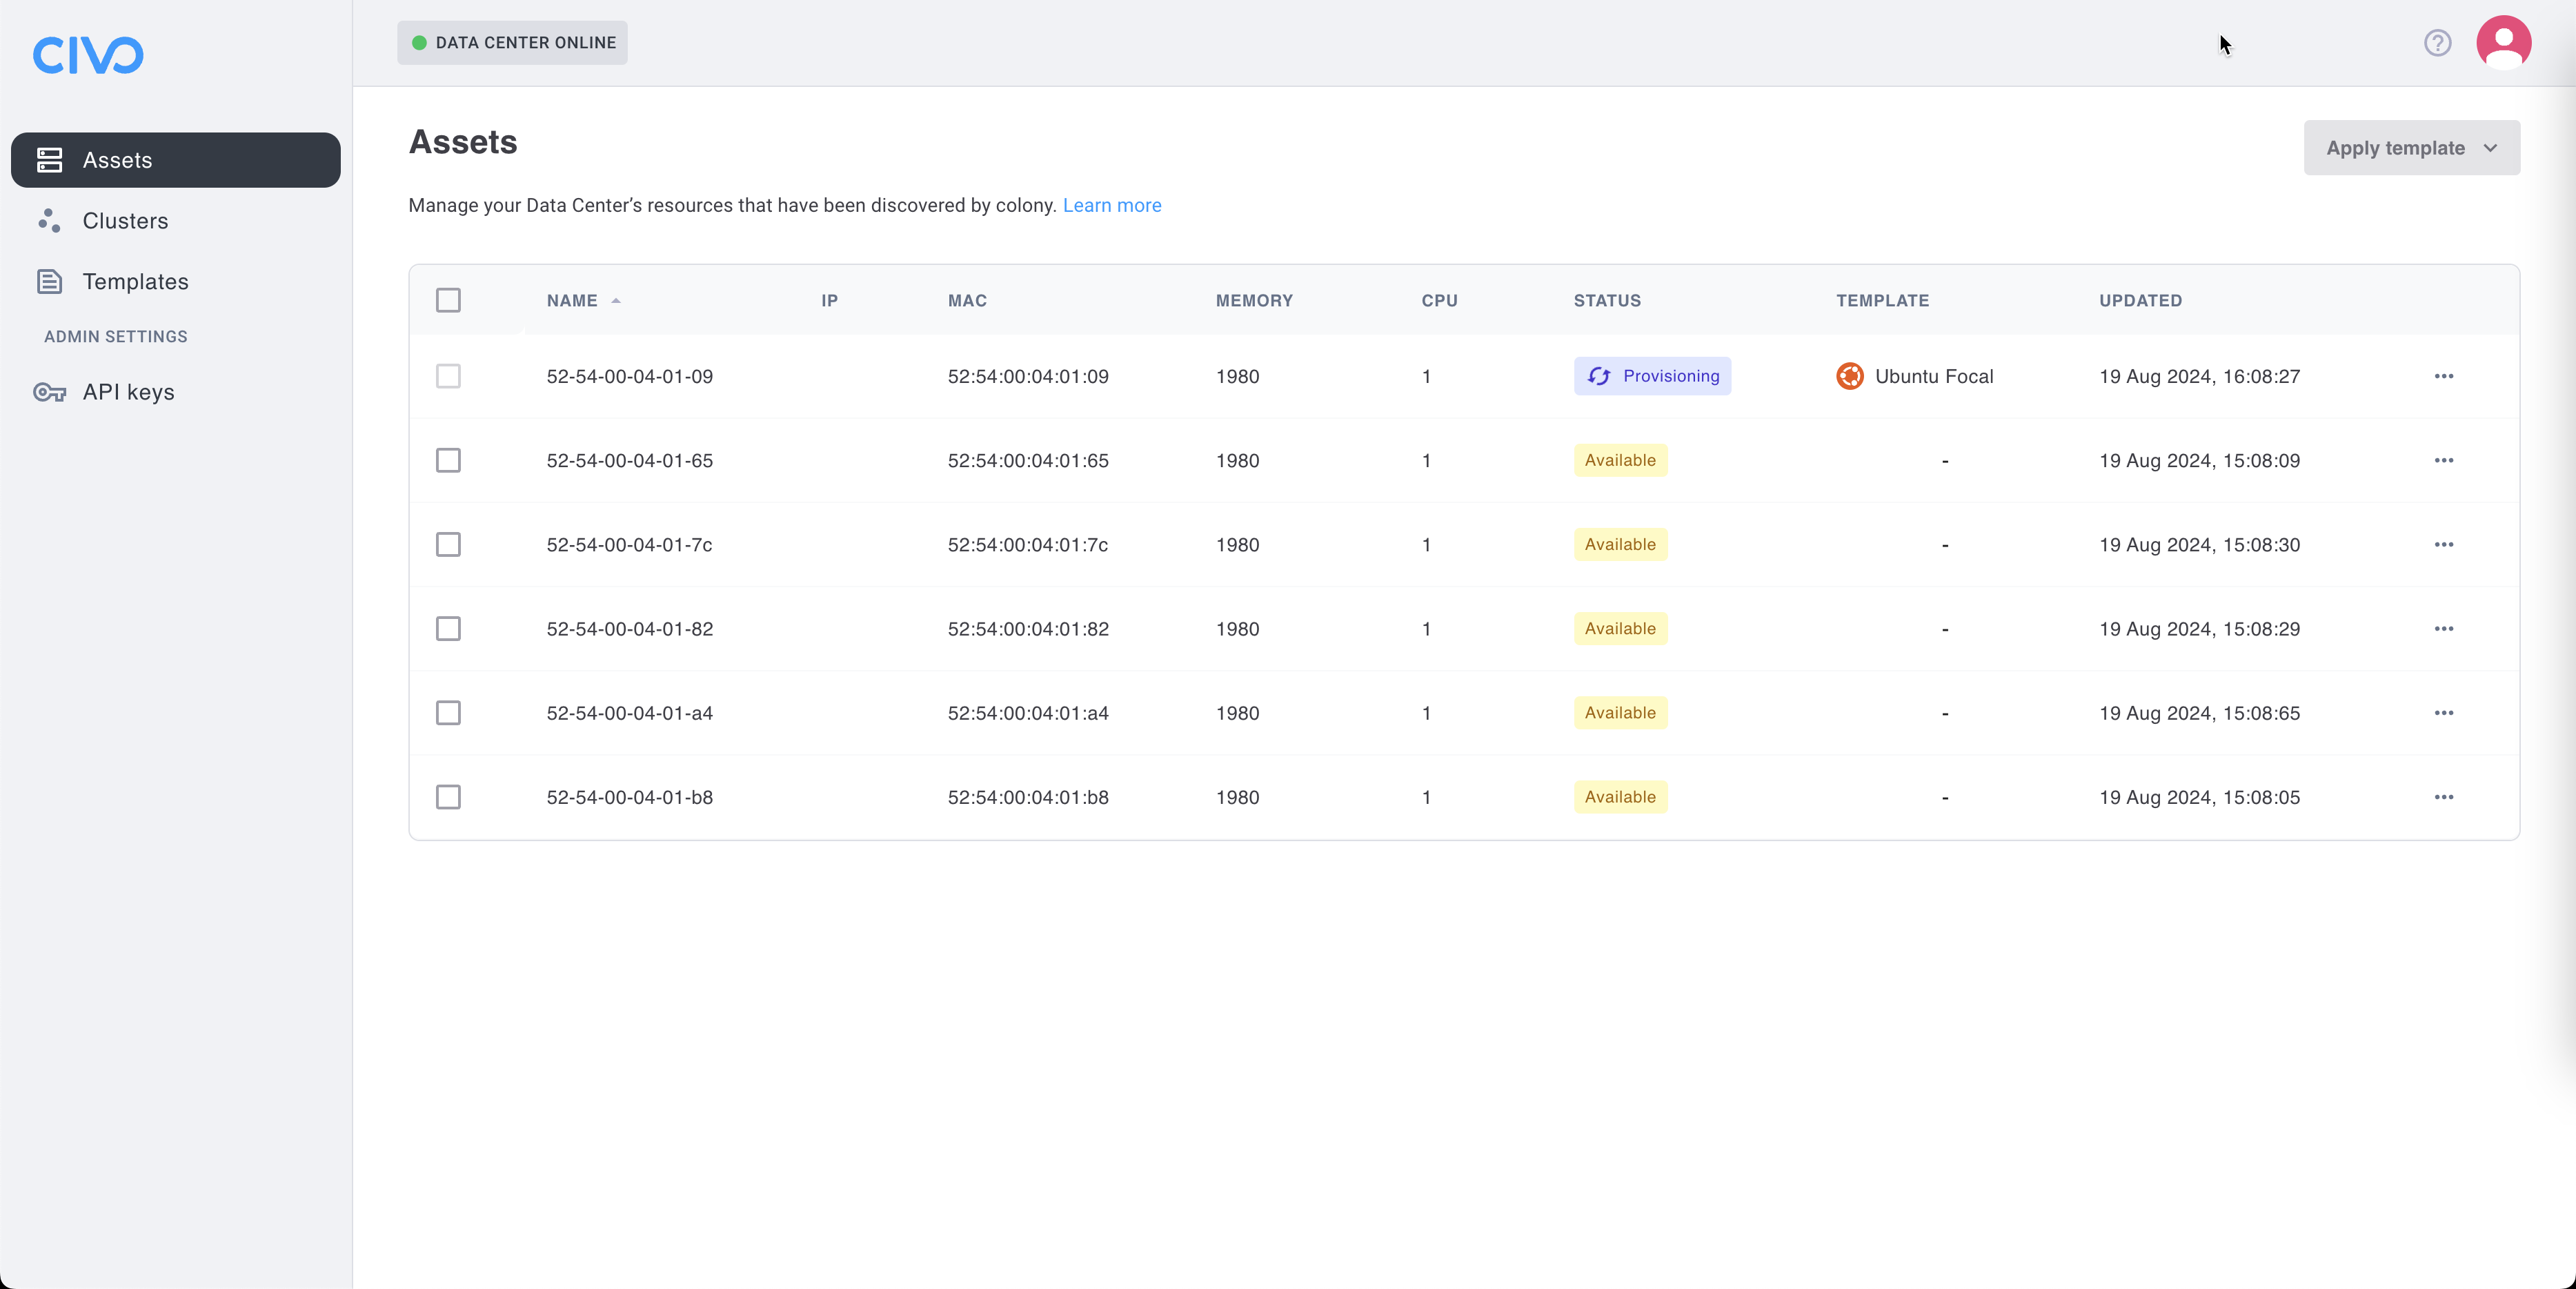
The asset status will change to "provisioning".
Step 4: Monitor Provisioning��
Watch the provisioning progress:
- Colony UI: Asset details page shows status and logs
- Timeline: Expect 14-23 minutes for completion
Progress stages:
- PXE boot and Ubuntu installer download
- Disk partitioning and OS installation
- Cloud-init configuration
- Network setup and SSH enablement
- First boot and system initialization
- Status change to "provisioned"
Provisioning Timeline
| Stage | Duration | Description |
|---|---|---|
| PXE Boot | 1-2 min | Asset boots from network, downloads Ubuntu installer |
| Disk Prep | 2-3 min | Partition disk, format filesystems |
| OS Install | 7-12 min | Install Ubuntu packages to disk |
| Cloud-init | 2-4 min | Apply configuration (users, SSH, network) |
| First Boot | 2-3 min | System initialization, services start |
| Ready | <1 min | Status changes to "provisioned" |
Total: Approximately 14-23 minutes depending on network speed and hardware.
Verification
Check Status in UI
- Navigate to Assets
- Verify asset status shows "provisioned" (blue)
- Note the assigned IP address
- Confirm SSH is enabled (usually shown in details)
Test SSH Access
Connect to the provisioned host:
ssh ubuntu@<asset-ip>
Default credentials:
- Username:
ubuntu - Password:
ubuntu
You may be prompted to change the password on first login.
For better security, configure SSH key-based authentication instead of passwords. Add your public key via cloud-init or after provisioning.
Verify System
Once connected, check the system:
# Check Ubuntu version
lsb_release -a
# Should show: Ubuntu 22.04.x LTS (Jammy Jellyfish)

# Check disk layout
df -h
# Should show mounted partitions

# Check network
ip addr show
# Should show configured IP address

# Check internet connectivity
ping -c 3 8.8.8.8

# Check DNS resolution
nslookup google.com

# Check SSH service
systemctl status sshd
# Should be active (running)
Access Ubuntu Host
After provisioning completes, you have full SSH access:
SSH with Password
ssh [email protected]
# Password: ubuntu
SSH with Key (After Setup)
# Add your public key
ssh [email protected] "mkdir -p ~/.ssh && echo 'YOUR_PUBLIC_KEY' >> ~/.ssh/authorized_keys"

# Connect with key
ssh -i ~/.ssh/id_rsa [email protected]
Become Root
# The ubuntu user has sudo access
sudo su -

# Or run commands with sudo
sudo apt update
Post-Provisioning Configuration
Update Packages
sudo apt update
sudo apt upgrade -y
Install Additional Software
# Development tools
sudo apt install -y build-essential git curl wget

# Docker (if needed)
curl -fsSL https://get.docker.com | sh
sudo usermod -aG docker ubuntu

# Other packages
sudo apt install -y vim tmux htop
Configure SSH Keys
# Generate key on your local machine
ssh-keygen -t ed25519 -C "[email protected]"

# Copy to Ubuntu host
ssh-copy-id ubuntu@<asset-ip>

# Test key-based auth
ssh ubuntu@<asset-ip>
Set Hostname
# Set a friendly hostname
sudo hostnamectl set-hostname myserver.example.com

# Update /etc/hosts
echo "192.168.1.50 myserver.example.com myserver" | sudo tee -a /etc/hosts
Use Cases After Provisioning
Deploy Applications
Use as a standalone server:
# Example: Deploy nginx
sudo apt install -y nginx
sudo systemctl start nginx
sudo systemctl enable nginx

# Access via browser
curl http://<asset-ip>
Set Up Database
# Example: PostgreSQL
sudo apt install -y postgresql postgresql-contrib
sudo systemctl start postgresql
sudo systemctl enable postgresql

# Access PostgreSQL
sudo -u postgres psql
Run Docker Containers
# Install Docker
curl -fsSL https://get.docker.com | sh

# Run a container
docker run -d -p 8080:80 nginx

# Access via browser
curl http://<asset-ip>:8080
Deprovisioning
To wipe the asset and return it to "available" status:
Via UI
- Navigate to Assets
- Select the provisioned asset
- Click Wipe Disk
- Confirm the action
- Wait for status to change back to "available" (5-10 minutes)
Wiping a disk is destructive and irreversible. All data will be permanently deleted. Ensure you have backups if needed.
What Wipe Does
- Overwrites disk with zeros or random data
- Destroys all partitions and filesystems
- Removes all operating system files
- Resets asset to factory state
- Asset becomes available for new provisioning
Troubleshooting
Provisioning Fails
Symptoms: Asset stuck in "provisioning" status or returns to "available" with error.
Solutions:
- Check Tinkerbell workflow logs:
kubectl get workflows -A - Verify DHCP server is responding to PXE requests
- Ensure TFTP server is reachable from asset
- Check asset IPMI is accessible with
ipmitool -H <ipmi-ip> -I lanplus -U admin -P $PASS power status - Review Ubuntu mirror connectivity (assets need internet)
SSH Connection Refused
Symptoms: Can't connect to asset after provisioning.
Solutions:
- Verify asset status is "provisioned" (not "provisioning")
- Check asset IP is correct and pingable:
ping <asset-ip> - Ensure SSH port (22) is not blocked by firewall
- Wait a few more minutes (cloud-init may still be running)
- Check SSH service via IPMI console:
systemctl status sshd
Wrong IP Address
Symptoms: Asset has unexpected IP or no IP.
Solutions:
- Check DHCP server configuration and lease table
- Verify network interface is connected to correct VLAN
- Check cloud-init network configuration
- Manually configure static IP if DHCP issues persist
Disk Full or Wrong Partition Layout
Symptoms: / filesystem is too small, or partitions are wrong size.
Solutions:
- Wipe asset and re-provision
- Customize cloud-init to modify partitioning (advanced)
- Check disk size is sufficient (minimum 20GB, recommended 64GB+)
Package Installation Fails
Symptoms: apt install fails with errors.
Solutions:
- Update package lists:
sudo apt update - Check internet connectivity:
ping 8.8.8.8 - Verify DNS works:
nslookup ubuntu.com - Check disk space:
df -h(need at least 1GB free) - Try different Ubuntu mirror if needed
What's Next
Now that you have Ubuntu provisioned:
- Asset Management → - Learn about asset lifecycle
- Networking Configuration → - Configure advanced networking
- Create Clusters → - Deploy Kubernetes clusters
Need help? Join our Slack community for support!